
Reviewed · TOURS IN ARNHEM
6 Hour Battle of Arnhem Tour by Car with Private Guide
The most memorable part of this tour is the way it turns Arnhem’s scattered wartime sites into one clear story. With a guide such as David, you follow the battle from the drop zones at Wolfheze to the bridge defended by John Frost, using original maps and firsthand accounts from British survivors along the way.
I like the private car and guide, since you can focus on the places that matter most to your group rather than keep pace with strangers. I also like the stops at the Airborne Cemetery and Old Church, where the battle feels personal rather than abstract. The main drawback is the price: at $971 for up to three people, this makes the most sense for a small group that values expert guidance.
Key points to know before booking
- Original battle maps: The guide uses maps showing how the fighting developed, which helps you connect separate sites.
- A full Arnhem route: You visit Wolfheze, Oosterbeek, Arnhem, and John Frost Bridge in one six-hour outing.
- Private transportation: Your group travels by car, with transport time already included in the tour length.
- Personal military stories: Firsthand accounts from British survivors add human detail to the battlefield narrative.
- Lunch is separate: The Oosterbeek lunch stop is included in the schedule, but you pay for the meal yourself.
- Flexible pickup: Pickup can be arranged near Arnhem, Oosterbeek, or at Arnhem Central, Oosterbeek, or Ede railway stations.
Why this private Arnhem tour works well
The Battle of Arnhem is difficult to understand from a single memorial or museum visit. The action took place across several towns, roads, bridges, churches, hospitals, and landing zones. A private car tour gives you the missing link: movement between the sites.
You begin at 10:00 am and spend about six hours following the battle’s route. The stated visit times add up to roughly three hours, with the remaining time used for driving, explanation, and extra locations pointed out along the way. That matters because Arnhem is not a compact, single-site battlefield.
I find the private format especially useful here. You can ask why a particular road mattered, pause over a map, or request more detail about the British airborne forces without worrying about a large group. The tour is for your party only, with space for up to three people.
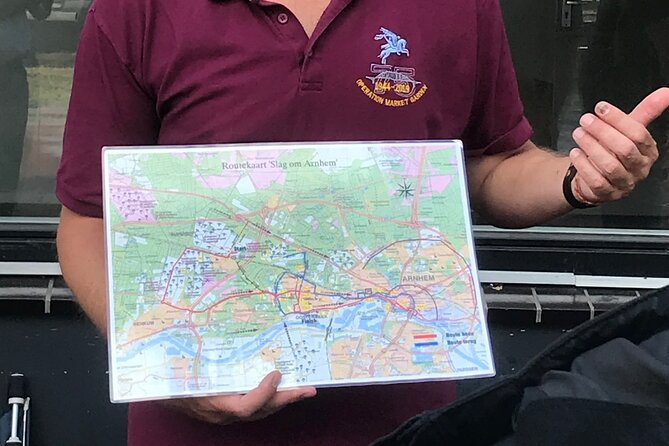
David’s use of original maps is one of the strongest details of the experience. Maps can show how positions changed as the battle went on, something that is hard to grasp when you are looking at modern streets. Firsthand accounts from British survivors add another layer, bringing the experience down from troop movements to individual decisions and losses.
This is not a tour built around grand scenery or long museum visits. Its appeal is the connection between ordinary-looking places and the events that happened there. You might pass a road or building without realizing its importance, then see it differently once the guide explains what took place.
A few more things to do in the Netherlands worth a look
- Rijksmuseum Amsterdam Small-Group Tour with Private Upgrade
★ 4.5 · 1,547 reviews - Van Gogh Museum Tour Reserved Entry Semi Private
★ 5.0 · 1,437 reviews - Private Amsterdam Red Light District and Coffee Shop Tour
★ 5.0 · 763 reviews
Wolfheze and the opening at the dropping zones
The first stop is Wolfheze, where you visit the dropping zones connected with the start of the Battle of Arnhem. You have about 20 minutes here, and admission is free.
This is an important opening because the battle began before the famous bridge became the focus. The airborne landings and the movement from the dropping zones set the route for what followed. Starting here gives the day a clear direction instead of beginning with the most famous location out of context.
Do not expect a large attraction with a long list of indoor exhibits. The value is in the guide’s explanation and your position on the ground. You are looking at the places where the operation began, then preparing to follow its progress toward Oosterbeek and Arnhem.
The short visit also keeps the whole day moving. With six hours available, the tour cannot linger at every location. Wolfheze works best as a scene-setting stop, especially when the guide uses maps to show how the opening movements fit together.
The Airborne Cemetery at Oosterbeek
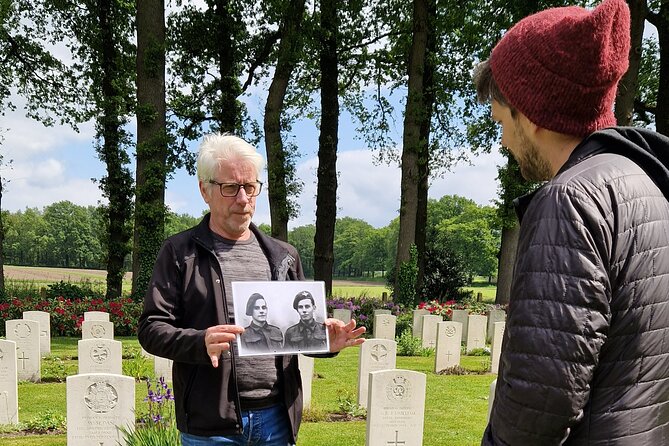
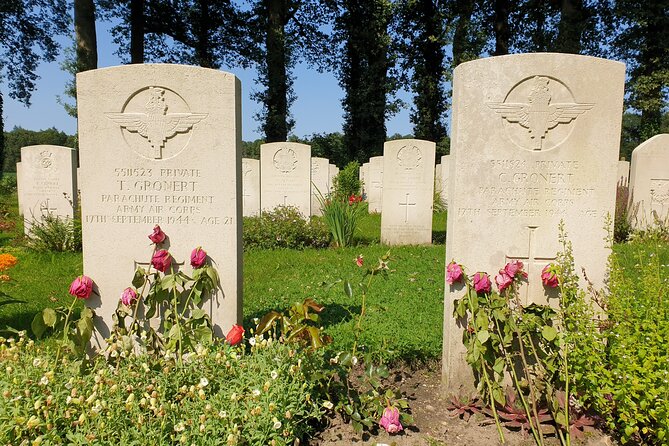
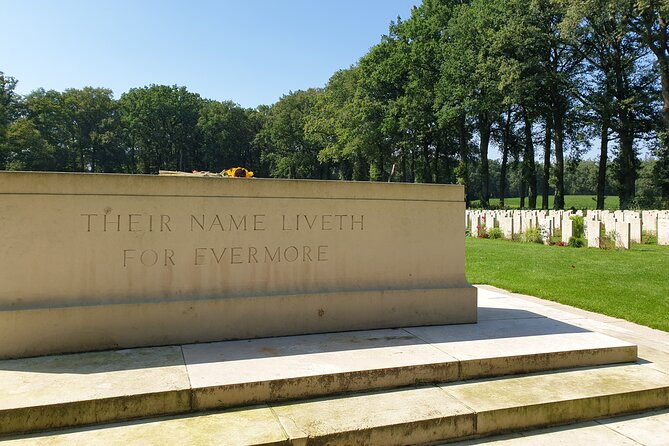
The Airborne Cemetery is one of the day’s most serious stops. You have about 30 minutes to pay your respects and hear the stories of the men buried there. Admission is free.
A cemetery changes the tone of a battlefield tour. Maps show plans and positions, but rows of graves show the human cost. The guide’s stories can help you connect names and individual lives with the wider operation.
You should allow yourself a quiet pace here. Thirty minutes is not a huge amount of time, but it gives you enough to walk through part of the cemetery and listen without turning the visit into a rushed photo stop.
This is also a good point to ask questions. The private format lets you discuss what you have just seen at Wolfheze and how the cemetery fits into the fighting around Oosterbeek. I value that kind of continuity, since the day becomes a connected account rather than a series of unrelated stops.
Oosterbeek’s Old Church and its battle scars
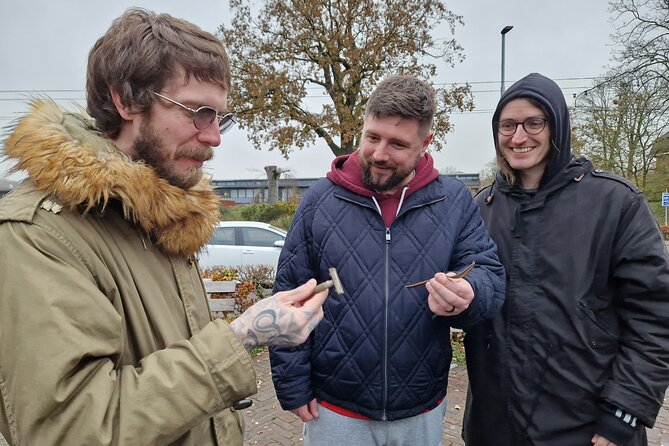
At the Oude Kerk, or Old Church, you spend about 30 minutes walking around a building that saw heavy fighting. The guide points out bullet holes, giving you visible evidence of the battle.
The church is useful because it makes the scale of the fighting easier to picture. A map can show lines and arrows, while bullet holes show what happened to an actual structure. The damage is not just a marker from the past. It helps you see how close the combat came to homes, religious buildings, and local streets.
You may find this stop more affecting than a formal display because the evidence is built into the building itself. The tour data does not promise interior access or a guided visit inside the church, so you should think of this as an exterior and surrounding-area stop.
The 30-minute allocation is enough to examine the church and hear the explanation without making the day too heavy at one location. If you enjoy military history through physical evidence, this will likely be one of the more rewarding stops.
Same city, a different sort of day:
- Amsterdam: Van Gogh Museum Ticket
★ 4.7 · 52,054 reviews - Amsterdam Classic Saloon Boat Cruise with Drinks and Cheese
★ 5.0 · 31,825 reviews - Amsterdam Luxury Canal Cruise + Unlimited Drinks & Bites option
★ 5.0 · 30,518 reviews - Amsterdam: Heineken Experience Ticket
★ 4.6 · 30,055 reviews
Arnhem’s Zwarteweg and St. Elisabeths Hospital
The tour then moves into Arnhem, with stops at the Zwarteweg, identified with Major General Roy Urquhart’s hideout, and St. Elisabeths Hospital, which served as a medical facility during the battle. Together, these locations show two very different sides of the operation.
The Zwarteweg stop connects the tour to command and decision-making. The St. Elisabeths Hospital stop shifts attention to medical care and the consequences of the fighting. I like this pairing because it broadens the story beyond soldiers advancing toward a bridge.
The listed time for this Arnhem section is about 30 minutes, covering both locations before you continue to John Frost Bridge. Since the tour is by private car, the guide can point out additional places along the route as you drive. Those passing locations may help fill in the gaps between the main stops.
This is where a map can be particularly helpful. Arnhem’s wartime movements are hard to follow if you only hear names. Seeing the streets while the guide explains who was trying to reach which position gives the route practical meaning.
John Frost Bridge, the bridge too far
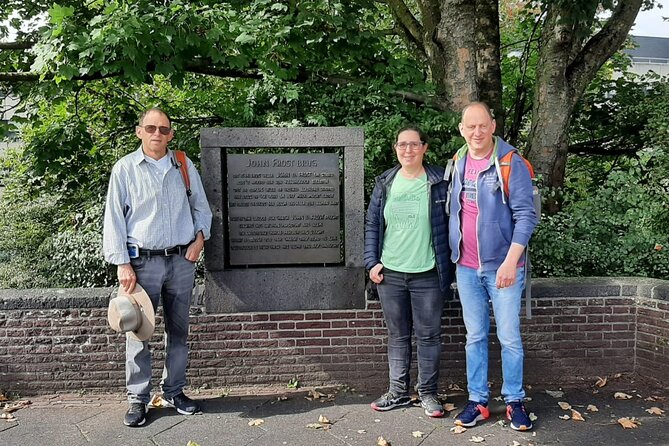
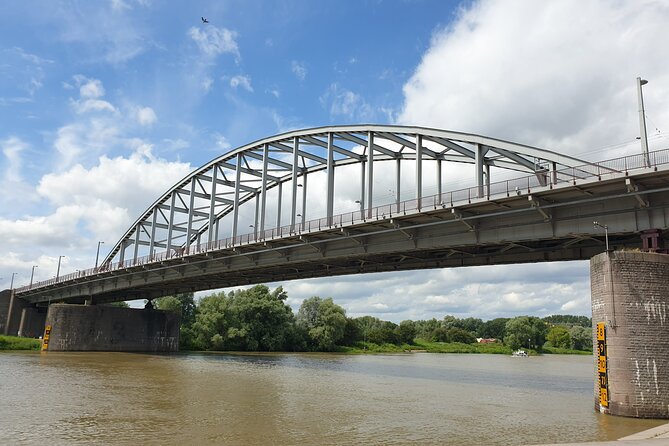
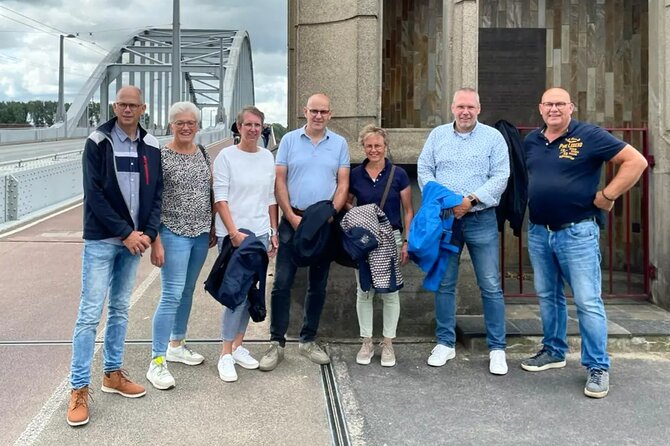
The final major battlefield stop is John Frost Bridge, also known as John Frostbrug. You spend about 40 minutes here hearing about the battle at the bridge often described as a bridge too far.
This is the tour’s natural climax. By this point, you have seen where the operation began, visited the cemetery, examined damage at the Old Church, and followed the story into Arnhem. The bridge then becomes the point where those earlier movements come together.
Allow time to look around rather than treating the bridge as a quick photo stop. The guide’s explanation is the key part of the visit. You will hear how the fighting unfolded at this location and why the bridge became the central symbol of the Arnhem operation.
A practical note: the experience does not list an admission fee or a separate museum visit here. The focus is the location itself, the surrounding view, and the guide’s account. If you want indoor exhibits, you would need to arrange those separately, as they are not part of the stated program.
Lunch in Oosterbeek and the rhythm of the day
Lunch takes place in Oosterbeek, with about 30 minutes set aside. The meal is not included in the $971 price, so plan to pay separately.
Thirty minutes makes this a functional break rather than a long restaurant visit. You should not count on a leisurely meal with lots of time to browse. The tour has several stops to cover, and keeping lunch short helps preserve time for the battlefield locations.
Because lunch is separate, ask about the exact timing and restaurant arrangements before the day begins if food is important to your plans. The tour information confirms a lunch stop but does not name a restaurant or specify what type of food is available.
I see the lunch break as useful rather than a drawback. Six hours of driving, walking, and listening is easier with a pause. Still, you should budget for the meal and avoid planning another fixed activity too tightly after the tour ends.
What the $971 group price means
The price is $971 per group of up to three people. If three people share the cost equally, that works out to about $323.67 per person. For two people, the effective per-person price is much higher, so the value improves when you fill all three places.
That is a serious price for a half-day tour. You are paying for private transportation, a dedicated guide, flexible pickup, and a route that connects several battle locations. You are not paying for included meals, museum tickets, or a large package of attractions.
I would judge the value by your interest level. If Arnhem is a major reason for your visit, private guidance can save you the trouble of piecing together locations on your own. If you only have a passing interest in the battle, the cost may be hard to justify.
The private format also gives you control over the conversation. That is valuable for a military historian, a family member with a personal connection to the campaign, or anyone who wants more detail than a standard sightseeing tour provides.
Pickup, timing, and practical details
The listed meeting point is Arnhem Central Station at Stationsplein 166, 6811 KL Arnhem. Pickup can also be discussed before booking, with possible locations near Arnhem or Oosterbeek, Arnhem Central railway station, Oosterbeek railway station, or Ede railway station.
The tour ends back at the meeting point. That makes it easier to plan around a train journey, though you should leave some flexibility after the stated six-hour duration in case the day runs slightly long.
Travel time is already included in the total duration. This is worth noting because the route covers several areas, and a portion of your day will be spent in the car. The driving is not wasted time, since the guide can point out other places along the route, but you should not expect six full hours of walking at battlefield sites.
The activity is offered in English. Mobile tickets are used, service animals are allowed, and most people can participate. The tour is described as near public transportation, but the main experience itself is by private car.
Free cancellation is available if you cancel at least 24 hours before the 10:00 am start time. Changes or cancellations inside that 24-hour window are not accepted for a refund.
Who should book this experience?
I would choose this tour if you want a focused Battle of Arnhem day and prefer an expert-led route over independent driving. It suits a couple, family, or small group of up to three people who want to ask questions and spend time at the locations that matter most.
It is also a strong choice if you have already read about the battle and want the geography to make sense. The maps, survivor accounts, and stops at both command and medical sites give you more than a quick visit to the bridge.
I would hesitate if you are mainly looking for general Arnhem sightseeing, a museum-heavy day, or a low-cost group excursion. The price is high, lunch is extra, and the tour focuses tightly on wartime history.
Should you book the Battle of Arnhem tour?
Book it if Arnhem’s wartime story is central to your trip and you want the convenience of a private car with a guide who can connect the sites. The strongest features are the original maps, survivor accounts, and the full route from Wolfheze to John Frost Bridge.
Skip it if you would be satisfied with a brief visit to the bridge or if you are traveling alone and sensitive to the per-person cost. For three people with a serious interest in the Battle of Arnhem, the price is easier to defend. For casual sightseeing, it is a costly six hours.
FAQ
How long does the Battle of Arnhem tour last?
The tour lasts approximately six hours, including travel time between the locations.
What time does the tour start?
The tour starts at 10:00 am.
Where does the tour begin?
The listed meeting point is Arnhem Central Station, Stationsplein 166, 6811 KL Arnhem, Netherlands.
Can I arrange pickup somewhere else?
Yes. Pickup can be discussed before booking. Possible locations include a hotel near Arnhem or Oosterbeek, Arnhem Central railway station, Oosterbeek railway station, or Ede railway station.
Where does the tour end?
The experience ends back at the meeting point.
How many people can join the private tour?
The price covers a private group of up to three people.
Is lunch included?
No. Lunch takes place in Oosterbeek, but the cost of lunch is not included.
Is transportation included?
Yes. Private transportation is included, and travel time is part of the six-hour duration.
Is the tour offered in English?
Yes. The experience is offered in English.
Can I cancel for a full refund?
Yes, if you cancel at least 24 hours before the experience start time. Cancellations or changes made less than 24 hours before the start are not refunded.
Just added in the Netherlands
- Private Tour of The Hague, Delft and Rotterdam with Lunch★ 5.0 · 3 reviews
- Historical The Hague: Private Tour with Local Guide★ 5.0 · 6 reviews
- The Blue’s Clues in Delft Exploration Game and Tour★ 3.5 · 10 reviews
- The Hague Self-Guided Audio Tour★ 5.0 · 3 reviews
- Discover Historical Delft with an Audio Guide★ 5.0 · 3 reviews
- Taking Pictures in the Tulip Field at De Tulperij★ 4.5 · 35 reviews
- Delft 2-Hour Walking Tour | Discover The City With A Local★ 4.5 · 8 reviews
- 90 minutes Self Guided Walking Tour with puzzles in Den Haag★ 4.5 · 7 reviews
Tours in Arnhem, compared.

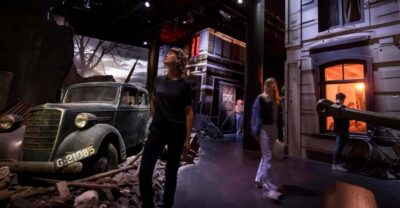
Oosterbeek: Airborne Museum Hartenstein Entry Ticket
Read our review →
e-Scavenger hunt Arnhem: Explore the city at your own pace
Read our review →
Discover Arnhem with a self-guided Outside Escape city game tour!
Read our review →
Browse the lists this tour appears in