
Reviewed · DUTCH WORKSHOPS & CLASSES
Amsterdam Night Photography Workshop with a Professional
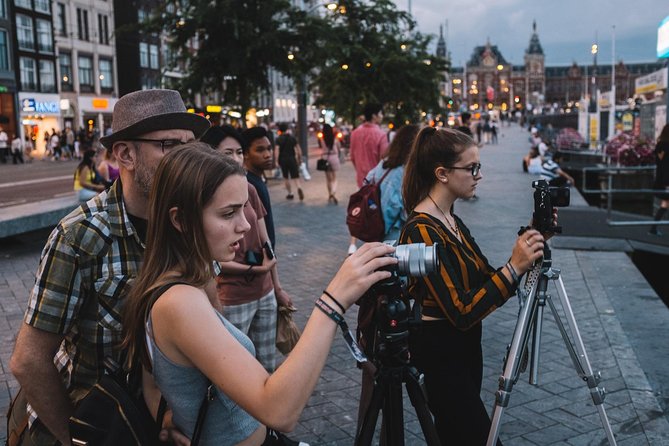
Amsterdam after dark is made for photography. Canal lights, reflections, narrow streets, and the glow of the Red Light District give you far more to work with than a standard sightseeing walk. This 90-minute workshop pairs those scenes with hands-on instruction from David, a professional photographer and university lecturer with 15 years in the industry.
I like two things here: the small maximum group of five, which gives you room to ask questions, and the chance to bring or borrow equipment. David also provides a tripod when needed and offers practical advice on settings, composition, depth, and manual shooting.
The main drawback is the short running time. One and a half hours is enough for a focused introduction, but not a full tour of Amsterdam’s night-photo possibilities. The 9:30 pm start also suits night owls more than early risers.
Key points before you book
- Start at Amsterdam Centraal: Meet at Stationsplein at 9:30 pm, with the activity ending back at the same meeting point.
- Small group size: No more than five people can join, so instruction should feel personal rather than classroom-like.
- David teaches at every level: Beginners can learn the basics, while experienced photographers can discuss composition, depth, equipment, and manual shooting.
- The Red Light District is the named photo stop: Expect an evening route built around Amsterdam’s unusual streets, lights, and night atmosphere.
- You do not need a full kit: Bring your own camera or use borrowed equipment. A tripod can also be provided.
- Weather matters: Poor weather can lead to a new date or a full refund, and cancellation by you is free up to 24 hours ahead.
Why Amsterdam works so well after dark
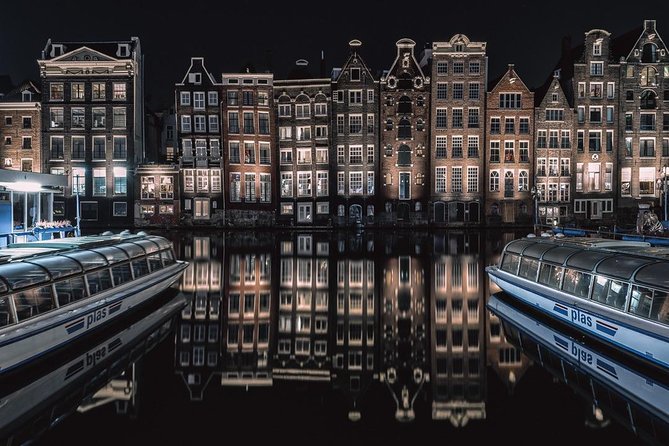
Night photography asks you to slow down. In daylight, you can often point, shoot, and move on. At night, you need to think about light, movement, stability, focus, and the balance between bright lamps and dark streets.
Amsterdam gives you plenty of material in a compact area. Illuminated buildings, canal reflections, window light, and passing people can all become part of a frame. You might be working on a long exposure one moment, then adjusting composition for a tighter street scene the next.
That is the useful part of having a local photographer with you. The challenge is not only learning which camera setting to change. It is also knowing where to stand, what direction to face, and which view is worth waiting for.
David describes himself as familiar with favorite Amsterdam photo locations, including quieter spots away from the most obvious views. The named stop is the Red Light District, but the experience is presented as a guided walk through selected places rather than a single stationary lesson.
You should think of this as a practical photo outing, not a broad city tour. You will see Amsterdam at night, but the purpose is to make better photographs and understand why a certain position or camera setting works.
Other photographers shooting around Amsterdam:
- Amsterdam: Private Photoshoot for Couple, Family, or Solo
★ 4.9 · 251 reviews - Amsterdam Canal, Tulip, Windmill Photoshoot | Custom Request
★ 5.0 · 147 reviews - Become a Dutch Art Piece Photo Shoot in Amsterdam
★ 5.0 · 100 reviews
Meeting at 9:30 pm near Amsterdam Centraal
The workshop begins at Stationsplein, outside Amsterdam Centraal, at 9:30 pm. This is a sensible starting point because it is easy to reach by public transportation, and the activity ends back at the meeting point.
The late start has a clear advantage: you get proper night conditions rather than a twilight walk. It also means you should pay close attention to the meeting instructions. One person who missed the start had a difficult experience with the meeting arrangements, while David stated that he waited beyond the scheduled time and documented his location. The practical lesson is simple: arrive early, confirm the exact meeting place, and contact the operator before the start if anything is unclear.
The start time may work especially well if you have spent the day visiting museums or taking a canal cruise. You can have dinner first, then meet David when the city’s lights become the main subject.
Because the workshop lasts about 90 minutes, do not expect a long cross-city route. The time is better suited to a compact set of photo stops with instruction at each one.
The Red Light District as a night photography classroom
The Red Light District is the only specifically named stop, and it gives the workshop an unusual setting. Its mix of artificial light, old streets, people, windows, and reflections creates strong material for learning how exposure changes at night.
This area can also be visually busy. That is useful for composition practice, but it may make it harder to isolate a clean subject. David’s role is to help you decide what belongs in the frame and what should be left out.
You might work on:
- Balancing bright lights with shadow
- Keeping a camera steady for long exposures
- Finding reflections and leading lines
- Choosing a viewpoint that gives a familiar area a fresh look
- Using depth to separate foreground and background
- Making manual adjustments instead of relying only on automatic settings
The experience does not promise a fixed list of several landmarks, so I would not book it expecting a checklist of Amsterdam sights. The value is in learning how to see and shoot the places you reach.
The area also calls for ordinary courtesy. You are photographing in a working neighborhood, not on a film set. Be discreet, follow local rules, and listen to David if he suggests a better place to stand.
What David actually teaches
David’s background is a strong reason to consider this workshop. He has 15 years of professional photography experience and works as a university lecturer. That combination suggests a useful balance: practical shooting advice paired with an ability to explain why a technique works.
The instruction is aimed at a wide range of ability levels. If you are new to night photography, you can ask about the basics without needing to arrive with technical knowledge. If you already shoot manually, you can use the time to discuss composition, equipment, depth, and more refined choices.
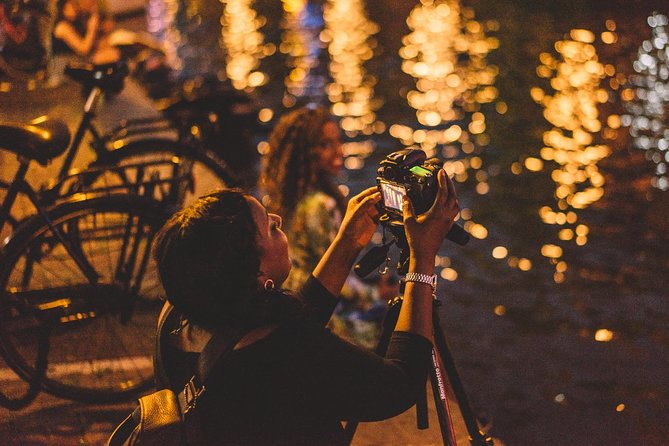
Several details make the teaching feel hands-on. David has helped with camera settings for specific scenes, offered composition tips, and guided people through manual shooting rather than simply giving a lecture. That matters because night photography is easier to understand when you can change a setting, take a frame, inspect the result, and try again.
You should also expect patient instruction. A calm pace is particularly valuable at night, when the camera may behave differently from what you are used to in daylight. Small changes to shutter speed, aperture, or stability can have a large effect on the finished image.
The workshop is not described as a formal technical course, so the depth will depend on your questions and current skill. Come ready to speak up. Tell David what you want to learn, whether that is basic camera control, long exposure, composition, or better use of your existing equipment.
Other things you can make yourself in Amsterdam:
- Amsterdam: Traditional Dutch Syrup Waffle Making Workshop
★ 4.8 · 4,093 reviews - Amsterdam Traditional Dutch Syrup Waffle Making Workshop
★ 5.0 · 960 reviews - Amsterdam: Bols Cocktail Experience and Cocktail Workshop
★ 4.8 · 666 reviews - Amsterdam Light Festival Winter Walk with Stroopwafel Workshop
★ 5.0 · 66 reviews
Long exposure, tripods, and borrowed equipment
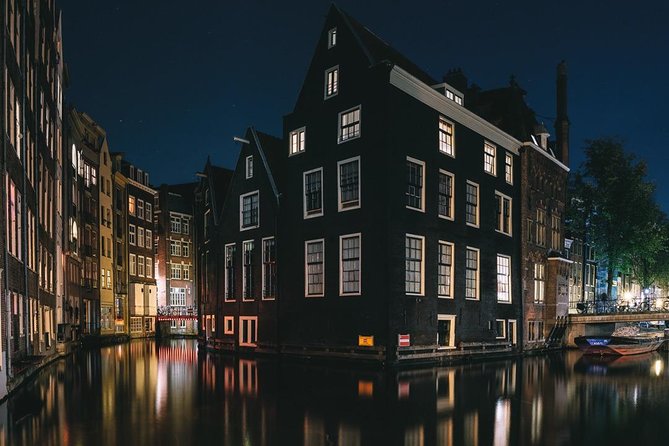
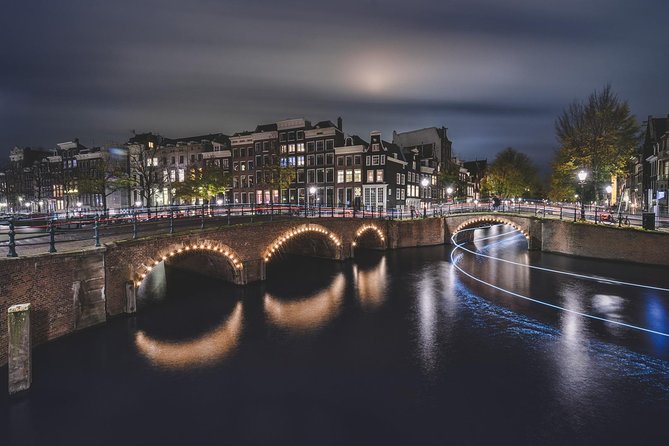
Long exposure is one of the main attractions here. When you keep the shutter open longer, moving light and water can record in a different way, while stationary buildings remain more defined. The technique is rewarding, but it usually demands a steady camera and careful timing.
A tripod is therefore important. David has provided one during the workshop, which is a helpful detail if you are visiting Amsterdam without a full photography kit. The general arrangement also allows you to bring or borrow equipment, so the activity is not limited to professional photographers carrying several lenses and accessories.
You should still check what you need before arriving. The supplied information confirms that equipment can be brought or borrowed, but it does not provide a full inventory of camera bodies, lenses, or accessories. If you have a preferred camera, bring it and make sure the battery is charged.
This is also a good workshop for someone who owns a camera but rarely uses manual controls. You can learn by doing, which is often more useful than reading about settings in a guidebook. A tripod and a patient teacher remove some of the frustration that comes with learning alone.
A small group makes the lesson more useful
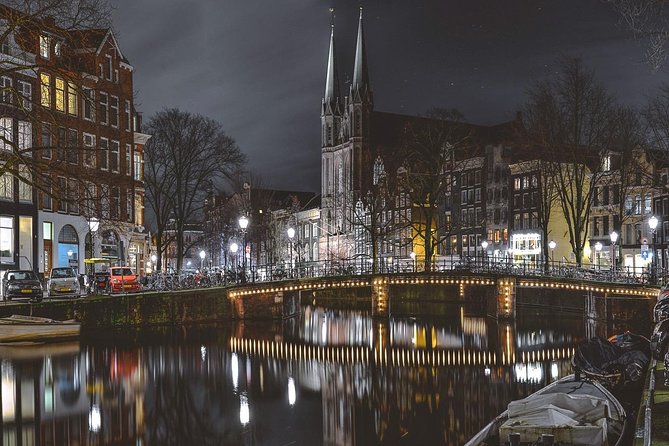
The maximum group size is five people. That is small enough for David to watch what you are doing, answer questions, and adjust advice to different cameras and skill levels.
Small groups also matter for the practical side of photography. A large crowd can block a view, crowd a narrow street, or force everyone to make the same picture from the same position. With fewer people, you have more room to test a different angle or wait for the right moment.
There is a trade-off. A small-group workshop can feel personal, but the guide’s attention still has to be shared. If all five participants arrive with very different goals, the session may move between beginner explanations and more advanced discussions.
You can help the group work well by deciding in advance what you want to improve. Bring two or three questions. For example, you might ask how to avoid blurry night images, how to handle bright signs, or how to build a stronger composition in a crowded street.
Is $114.39 fair for 90 minutes?
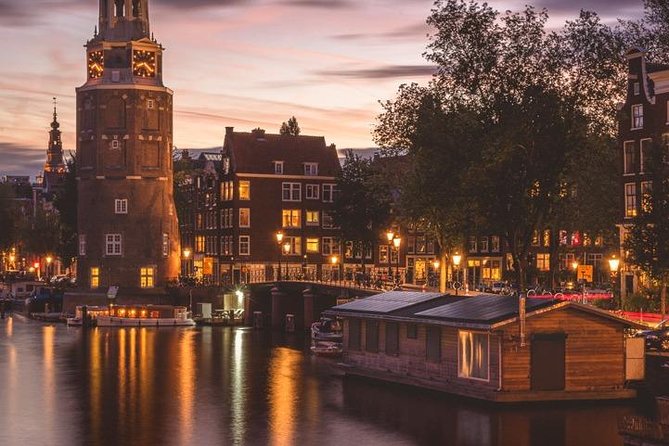
At $114.39 per person, this is not a cheap sightseeing walk. The price makes more sense if you value direct instruction, a very small group, access to a tripod or borrowed equipment, and the chance to photograph with a professional guide.
The strongest value comes from the personal feedback. You are not simply being taken to a viewpoint and told to take pictures. The aim is to understand the choices behind a successful night image, from location and composition to manual settings and camera stability.
The short length keeps the total cost from becoming a full evening expense, but it also limits how much ground you can cover. If you already know how to shoot long exposures and only want a guided walk to attractive locations, the price may feel high for 90 minutes.
If you are a beginner, or if you have a camera but lack confidence after dark, the cost is easier to justify. You may leave with techniques you can use for the rest of your trip, not just a set of photographs from one night.
I would also compare this with the cost of renting equipment or hiring a private photographer. The group is not fully private, but with no more than five participants, it is closer to personal coaching than a large tour.
Who should book this workshop?
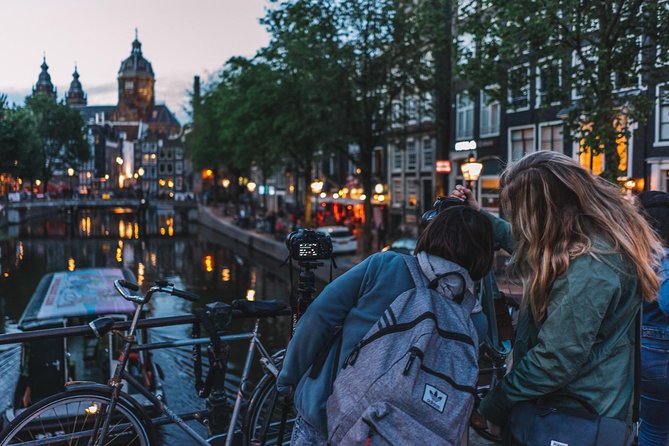
This experience suits you best if you fall into one of these groups:
- You are new to night photography and want help with the basics.
- You own a camera but want to get more comfortable with manual shooting.
- You already understand exposure and want advice on composition and location.
- You want to photograph Amsterdam beyond the standard daytime postcard views.
- You prefer a small group and direct access to the guide.
- You are willing to start late and work outdoors in changing weather.
It is less suitable if you want a broad introduction to Amsterdam, a long walking tour, or a guaranteed list of famous landmarks. The itinerary names the Red Light District and refers to selected photo locations, but it does not promise a fixed route covering the canals, bridges, and major monuments.
It may also disappoint you if you expect a full professional photography course. Ninety minutes gives you a focused lesson, not a complete education in night photography. You will get the most from it by arriving with a clear goal and using the time for practice.
Weather, cancellations, and practical details
Good weather is required. If poor weather cancels the workshop, you can be offered another date or a full refund. The activity also requires a minimum number of participants, so a cancellation for that reason comes with the same choices.
You can cancel for a full refund up to 24 hours before the local start time. Changes or cancellations inside that 24-hour window are not accepted for a refund, so watch the timing if your Amsterdam plans are still moving around.
The activity is offered in English. Mobile tickets are accepted, service animals are allowed, and the meeting point is near public transportation. Most people can participate, though the information does not give a detailed accessibility description for the full walking route.
Should you book it?
Book this workshop if you want to learn by taking pictures, not by listening to a long talk. David’s professional background, patient teaching style, location advice, and practical help with tripods and settings give the experience real value for beginners and keen amateurs.
I would be more cautious if you are mainly looking for sightseeing. The tour is short, starts at 9:30 pm, and focuses on photography rather than a full introduction to Amsterdam. Arrive early at Stationsplein, bring a charged camera if you have one, and decide what you want to improve before you meet David.
For the right person, this is a compact way to turn Amsterdam’s night lights into a photography lesson you can use long after the workshop ends.
FAQ
Where does the Amsterdam night photography workshop start?
It starts at Stationsplein, 1012 AB Amsterdam, near Amsterdam Centraal Station.
What time does the workshop begin?
The scheduled start time is 9:30 pm.
How long does the experience last?
The workshop lasts approximately 1 hour and 30 minutes.
Where does the workshop end?
The activity ends back at the meeting point.
Do I need to bring my own camera equipment?
You can bring your own equipment or borrow equipment. A tripod has also been provided during the workshop, but a complete list of available gear is not specified.
What happens if the weather is poor?
The workshop may be canceled because it requires good weather. In that case, you will be offered a different date or a full refund.
More Evening Experiences in Amsterdam
- Amsterdam: Evening Cruise with Optional Wine and Snacks
★ 4.4 · 19,696 reviews - Amsterdam Evening Canal Cruise with Live Guide and Onboard Bar
★ 4.5 · 3,619 reviews - Amsterdam: Evening Pizza Cruise Along the Canals
★ 4.5 · 2,389 reviews - Amsterdam: Cozy Evening Canal Cruise With Open Bar Option
★ 4.5 · 1,565 reviews
Just added in Amsterdam
- Guided Day Trip – Volendam, Zaanse Schans, Marken & Edam★ 4.0 · 232 reviews
- Private Tour Zaanse Schans Windmills and Volendam in Jaguar★ 5.0 · 10 reviews
- Zaanse Schans and Giethoorn Unique Day Trip with Boat Cruise★ 4.5 · 17 reviews
- Half-Day Private Guided Sightseeing Tour of Zaanse Schans★ 5.0 · 14 reviews
- Zaanse Schans Private Tour Windmills★ 5.0 · 18 reviews
- Private bike tour: Hidden gems around Amsterdam and surroundings★ 5.0 · 4 reviews
- Bike tour in Amsterdam with an Italian guide★ 5.0 · 15 reviews
- Amsterdam Sightseeing Tour + Hidden Gems + Tastings + PDF guide★ 5.0 · 35 reviews
Dutch Workshops & Classes, compared.
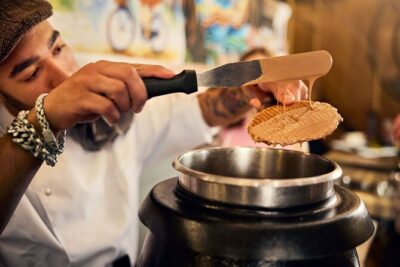
Traditional Dutch Syrup Waffle Making Workshop
Read our review →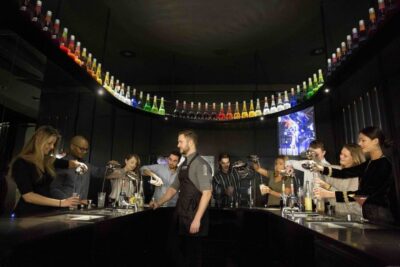
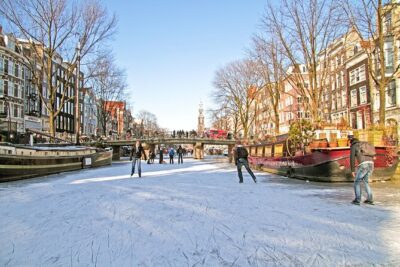
Amsterdam Light Festival Winter Walk with Stroopwafel Workshop
Read our review →
Cocktail workshop @ Spirited Union Rum Co. (Amsterdam)
Read our review →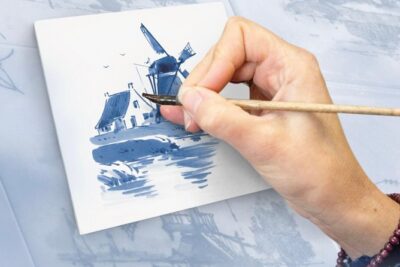
Private Dutch Pancake Cooking Class in an Amsterdam Canal Home
Read our review →
Browse the lists this tour appears in